
Quick Links.
-
Start by re-starting Photoshop and Checking for bug reports.
-
Adjust Photoshop Preferences.
-
Adjusting the Image Resolution.
-
Modifying the Color Mode.
-
Examine the Bit Channel.
-
Give Quick Export a Try.
-
Examine Saving Via Keyboard Shortcuts.
-
Prioritize the File with a PSD First Step.
-
Speicher it in a different Format and Transform it into something else.
You’re not alone in attempting to save all your files as JPEG or PNG in Photoshop.When an easy task becomes a struggle, It’s frustrating to know that the solution is easily fixable.
1. Start by re-starting Photoshop and Checking for bug reports.
At times, a glitch may prevent you from saving your Photoshop file system in formats such as JPEG or PNG.The easiest way to fix this is by resuming the tool.
If you want To halt photoshop, go To this link. Photoshop. Choose the option that appears At the top of the screen. Stop Photoshop. If the tool fails to respond, force-quitting it.
In the absence of a satisfactory solution, it may be more beneficial to check for re-installing Photoshop.The refresh may have centered on The glitChurch.
- Obtain the Adobe Creative Cloud software on your CompuTerrace.
- Pick. Updates. Positioned to the right.
- Button on. Verify for Updates. ..
- Restart your Photoshop program if there is an option to do so.
2. Adjust Photoshop Preferences.
A problem with Your Photoshop might be preventing the picture from saving it.Repairing your preferences is The simplest solution.The effort required to add them again afterward may be time-consuming, but the benefits of keeping your protect configurations in place are worth it.
Go through these stages to fix your Photoshop preferences::.
- Traverse to. Photoshop. Broaden the listbox restaurant and appear At the top of the screen.
- Pick. Configurations> General. ..
- Button on. Fixes at Quit. Afterward, tap on and restart the application to rectify your preferences with defauLieutenant.
- Restarting your Photoshop preferences in JPEG and PNG againch to save your file system.

3. Adjusting the Image Resolution.
If the shape is too large, Photoshop may encounter difficulties in preserving your file system in the appropriate format.When working with RAW, PSD, or PNG, you will likely experience the most significant impact.

The steps for adjusting the quality of your picture in Photoshop and where to do it::.
- Take to. Picture. On the lid tools menu?.
- Button on. Picture Size. Following the expansion of the listbox restaurant.
- Start editing your document: dimensionouns.
Unless you’re uncertain about where to start, expand your perspective. Accommodate To. Select your new size.Taking into account that adjusting the dpi, which is numeric and increases in size, will result in a file size of bigGerman7abs7.
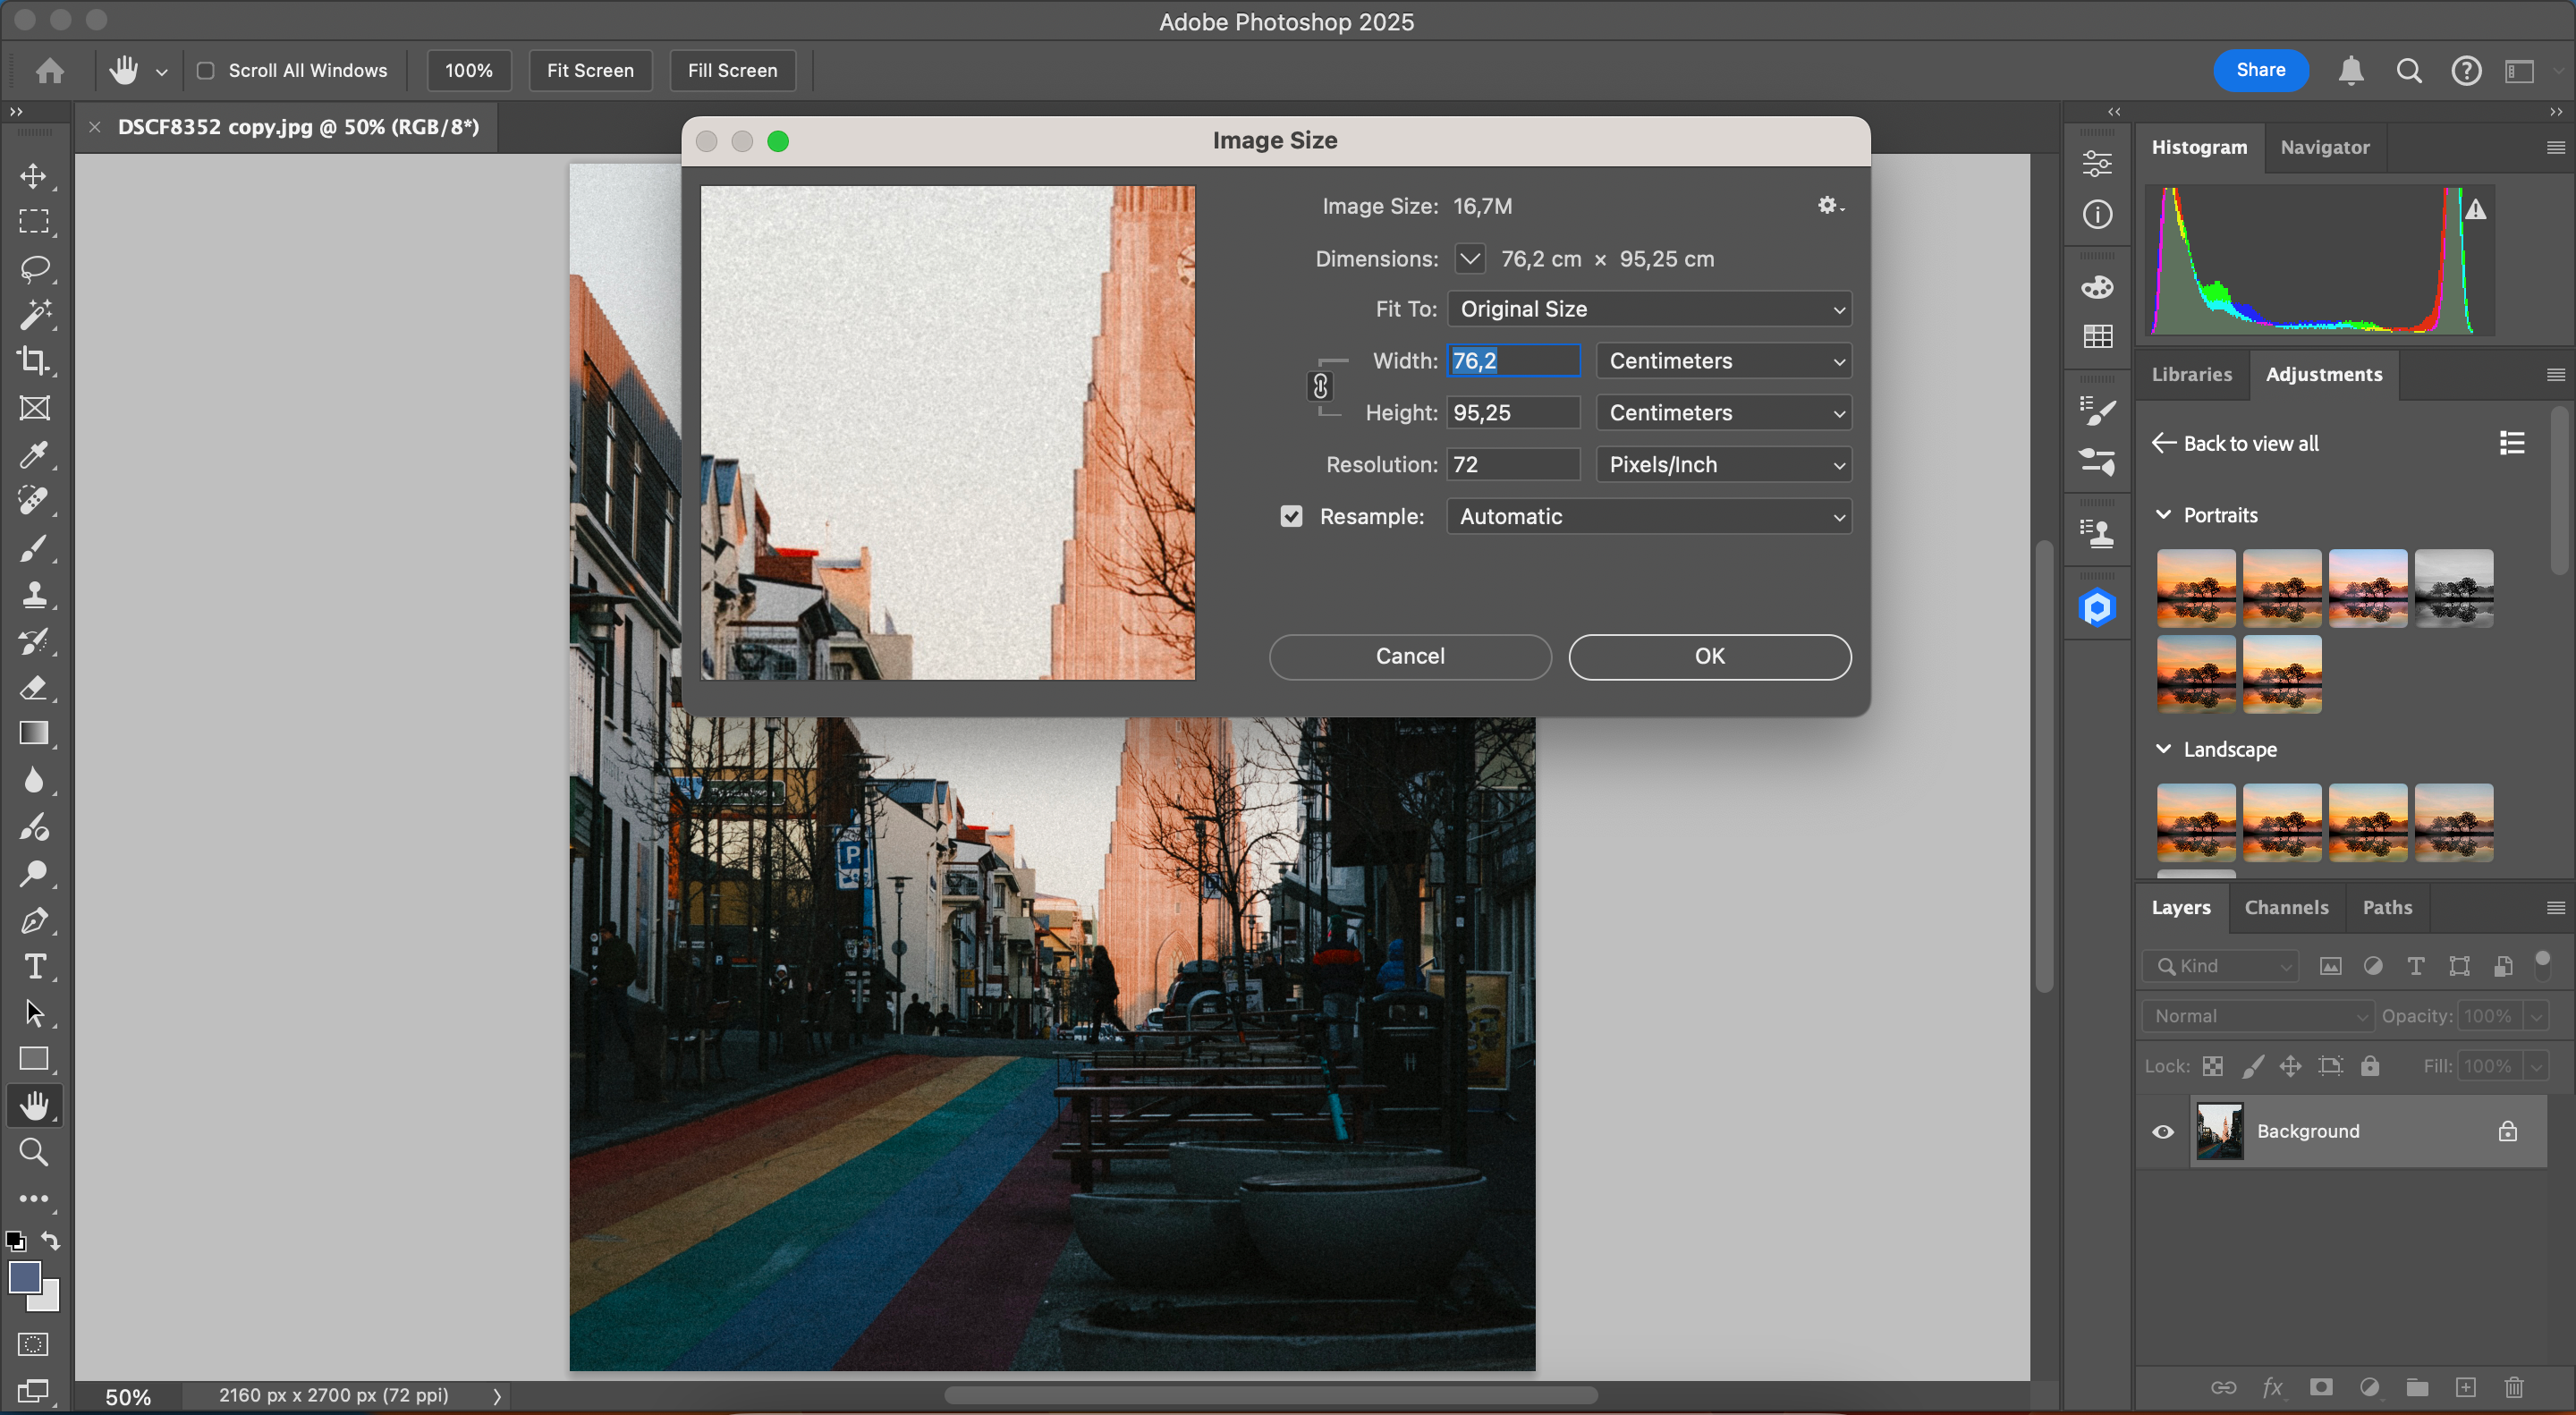
Take a step back and trust that your picture is still of satisfactory quality for its intended purpose.Unless you’re dealing with duplicates, the size of your files will be greater than what you would use to share pictures on social media.If you want to have the largest possible image, I recommend using it at more than 70 dpi.If you ‘re. Putting your paintings up for sale online. A resolution of 300 dpi is generally considered to be superior.
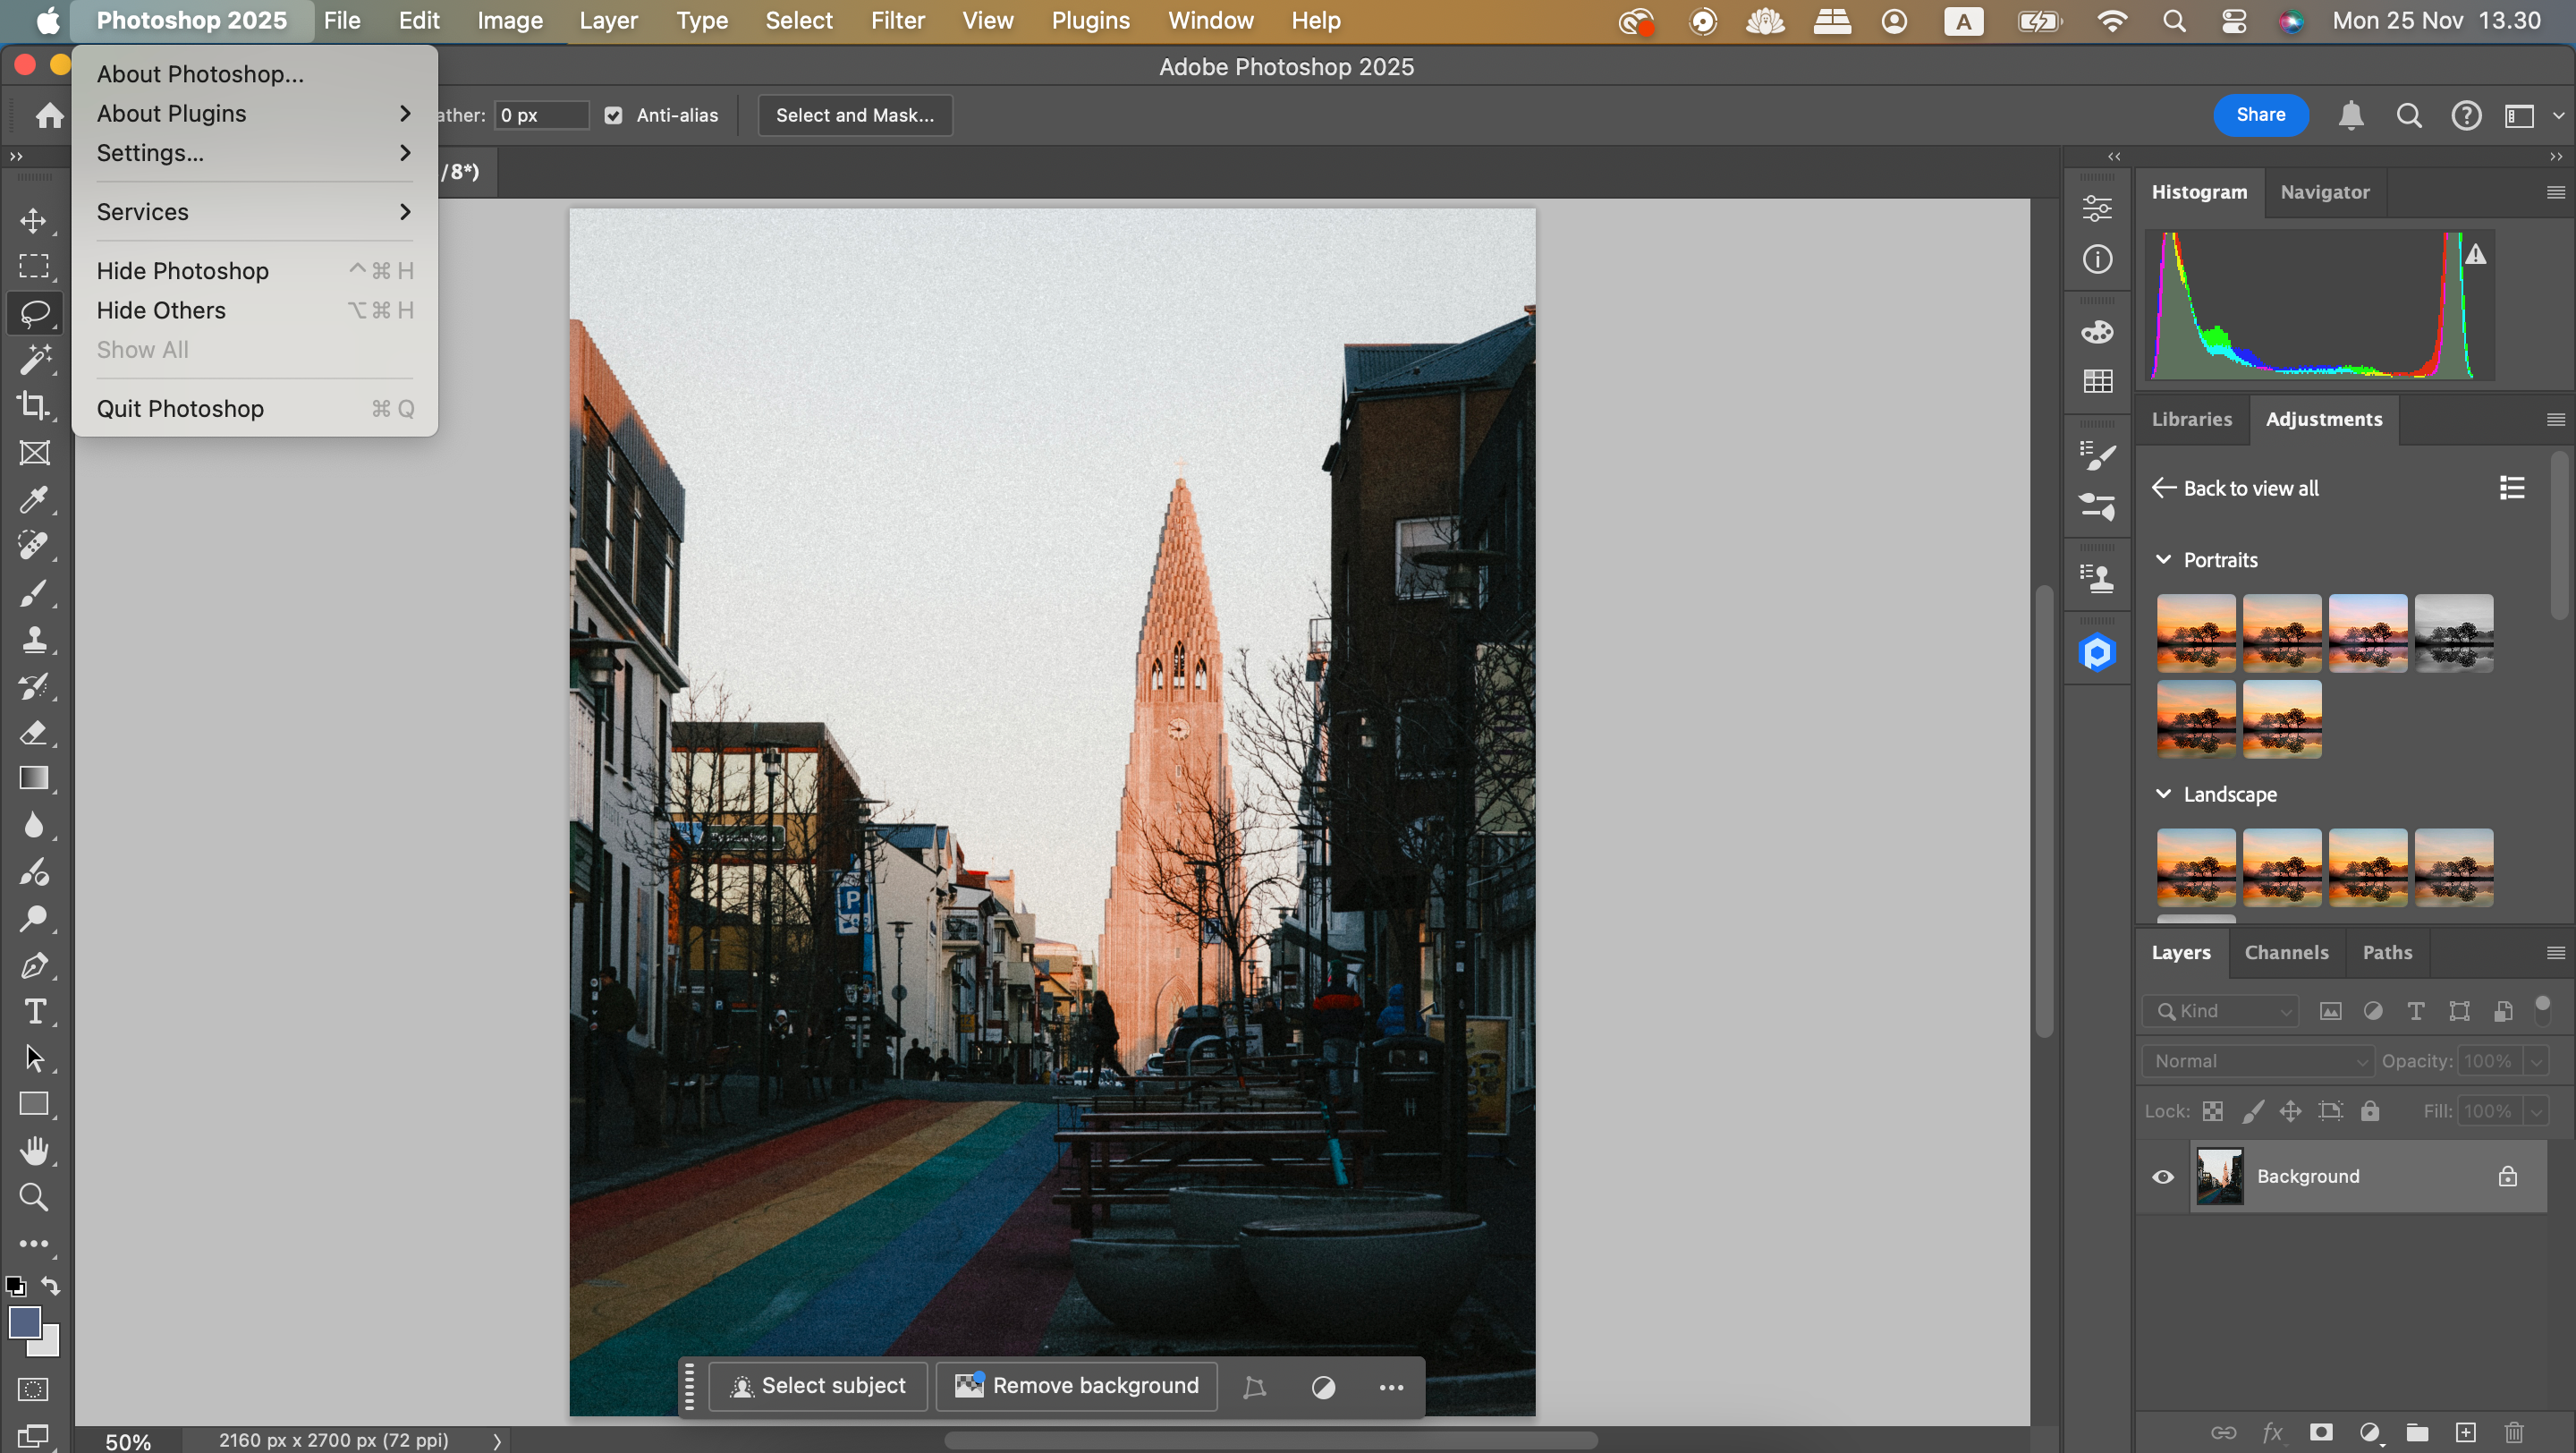
4. Modifying the Color Mode.
The color mode of Your file has a significant impact on the folder that is sent, as it can include additional information.For instance, the. Multichannel. The Color mode is adapted for specialized publishing and provides more information than a PNG folder.This is among. What are The typical glitches in Photoshop?. ..
Utilize the. RGB Color Mode. To ensure that you can safeguard your file system as JPEG /PNG.To accomplish that, navigate To the next section. Picture> Mode. And check. RGB Color. The changes you make must be effective.

5. Examine the Bit Channel.
Bit-depth measures The amount of data stored on each color channel, which impacts The quality of The image.Nevertheless, if the value is too high, your picture may be too large for Photoshop to scale to sAvenue. It is recommended to maintain a bit-depth of 8-16 Bits /channel.The color of certain JPEG documents can be endorsed in 32-bit format, but it may cause volume issues.
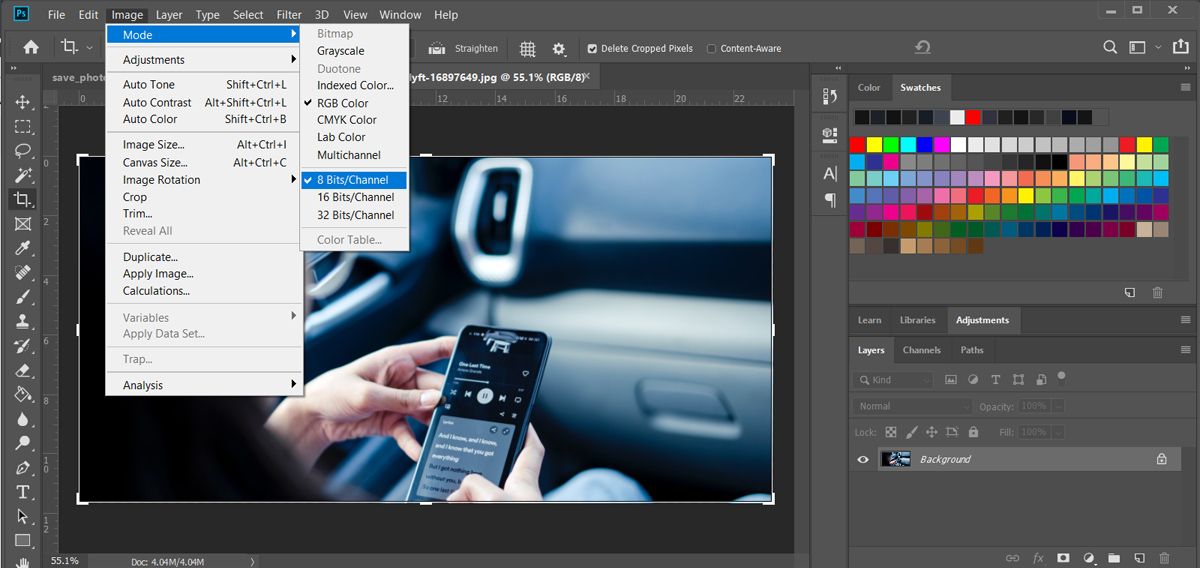
The choice of bit-depth value between different ones can impact the quality of your image, so it’s important To choose the correct one before starting with projeCourt72b7. Picture> Mode. And choose. 8 Bits /Channel. Or. 16 Bits /Channel. ..
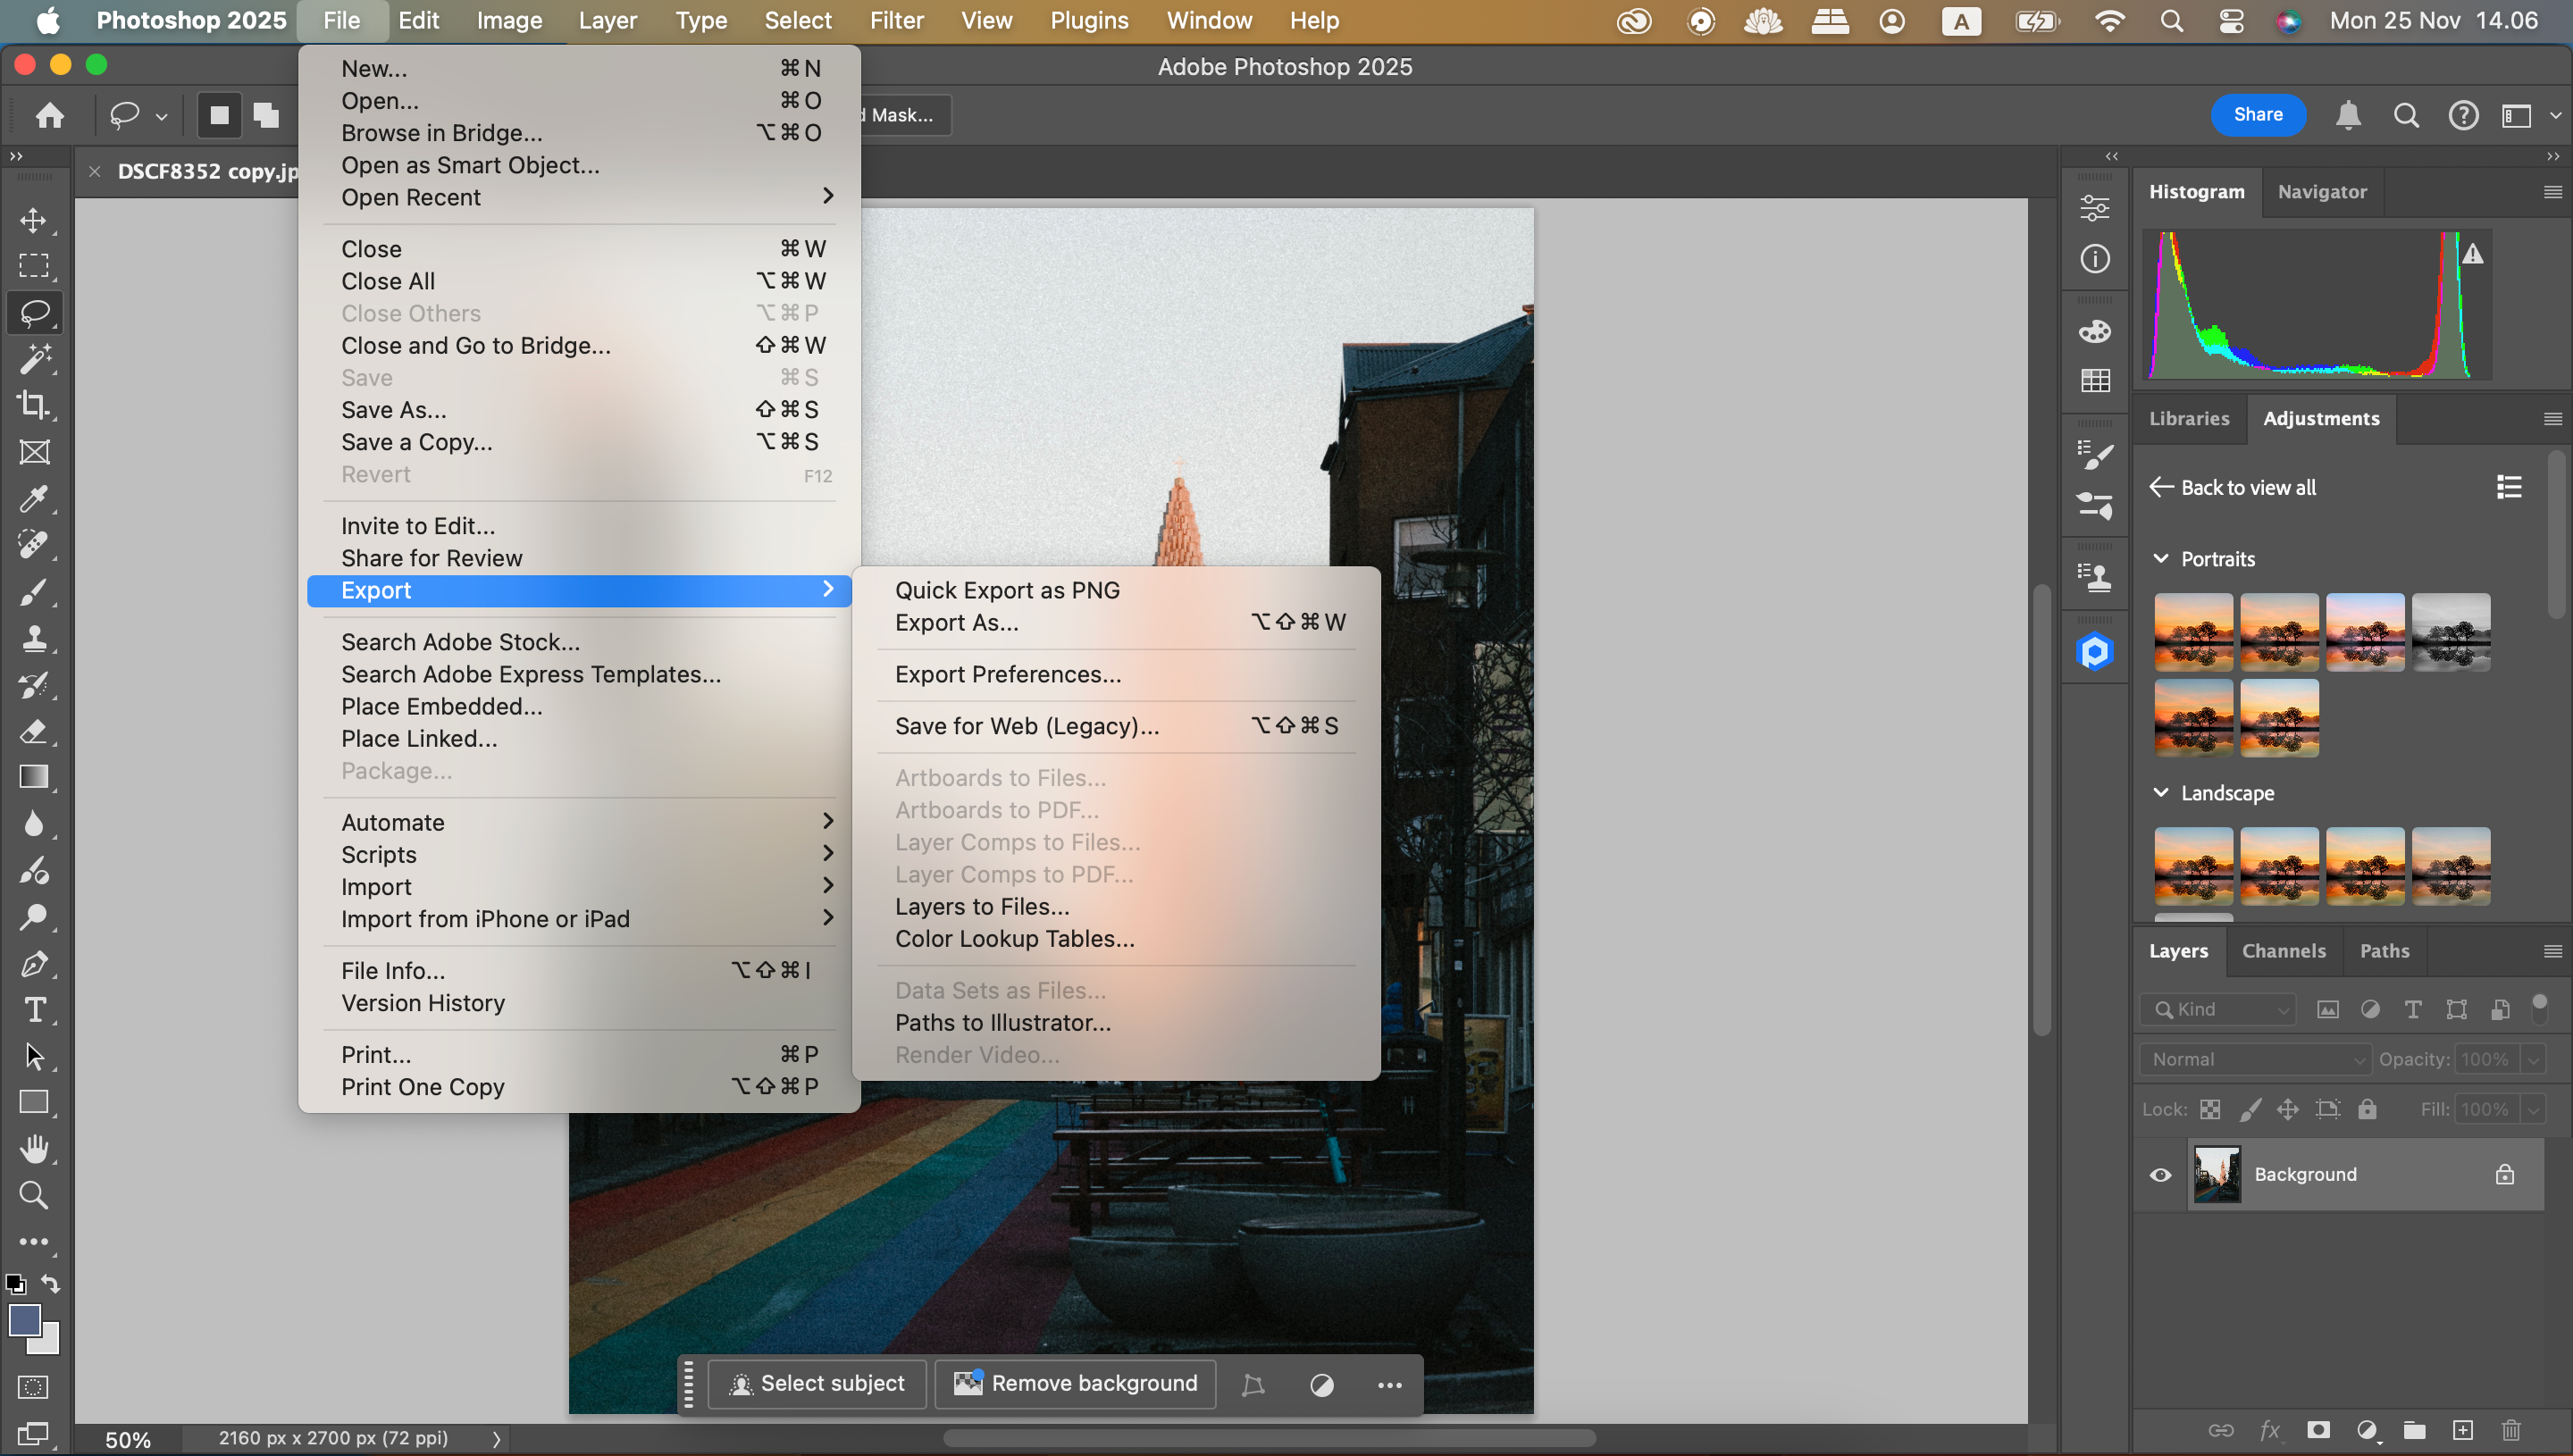
6. Give Quick Export a try.
Although it’s lovely for use. End up rescuing As. Or. Export As. Construct further extensive adjustments, allowing for ongoing utilization. Quick Export. If neither collaborate.Quick Export settings can be modified to produce JPEG or PNG files.Here’s how::.
- Take to the. Photo editing. Tab and select. Configurations> Export. ..
- Under. Quick Export Format. Choose from JPEG, PNG, or GIF formats.
- Pick. OK. ..

Once you have adjusted your Quick Export settings, simply switch to the next screen. Document. Use a floating object to propel your pointer. Export. Presently pick. Quickly Export as a PNG or JPEG image. Export your photo.
7. Evaluate Keyboard Shortcuts for Saving.
If you’re unable to perform the regular protect perform, try using keyboard shortcuts such as insteadaptation of.
- Media. Windows: Ctrl /Shift 1/s. Or. The Mac user can Control by selecting Control/Shift /S. A pop-up window titled “protect” will be displayed.
- Select. JPEG. Or. PNG. From the. Layout. Listbox restaurant.
- Pick. End up saving. ..
8. Prioritize the File with a PSD First Step.
Using JPEG or PNG files on Modern Photoshop versions is not allowed, even if you haven’t saved them as PSD.
By using keyboard shortcuts, You can save your file as PSD format.Use the same procedures in the previous part, but opt for JPEG/PNG instead of using PSD.Make an effort to re-import and store your file in its appropriate file formats.
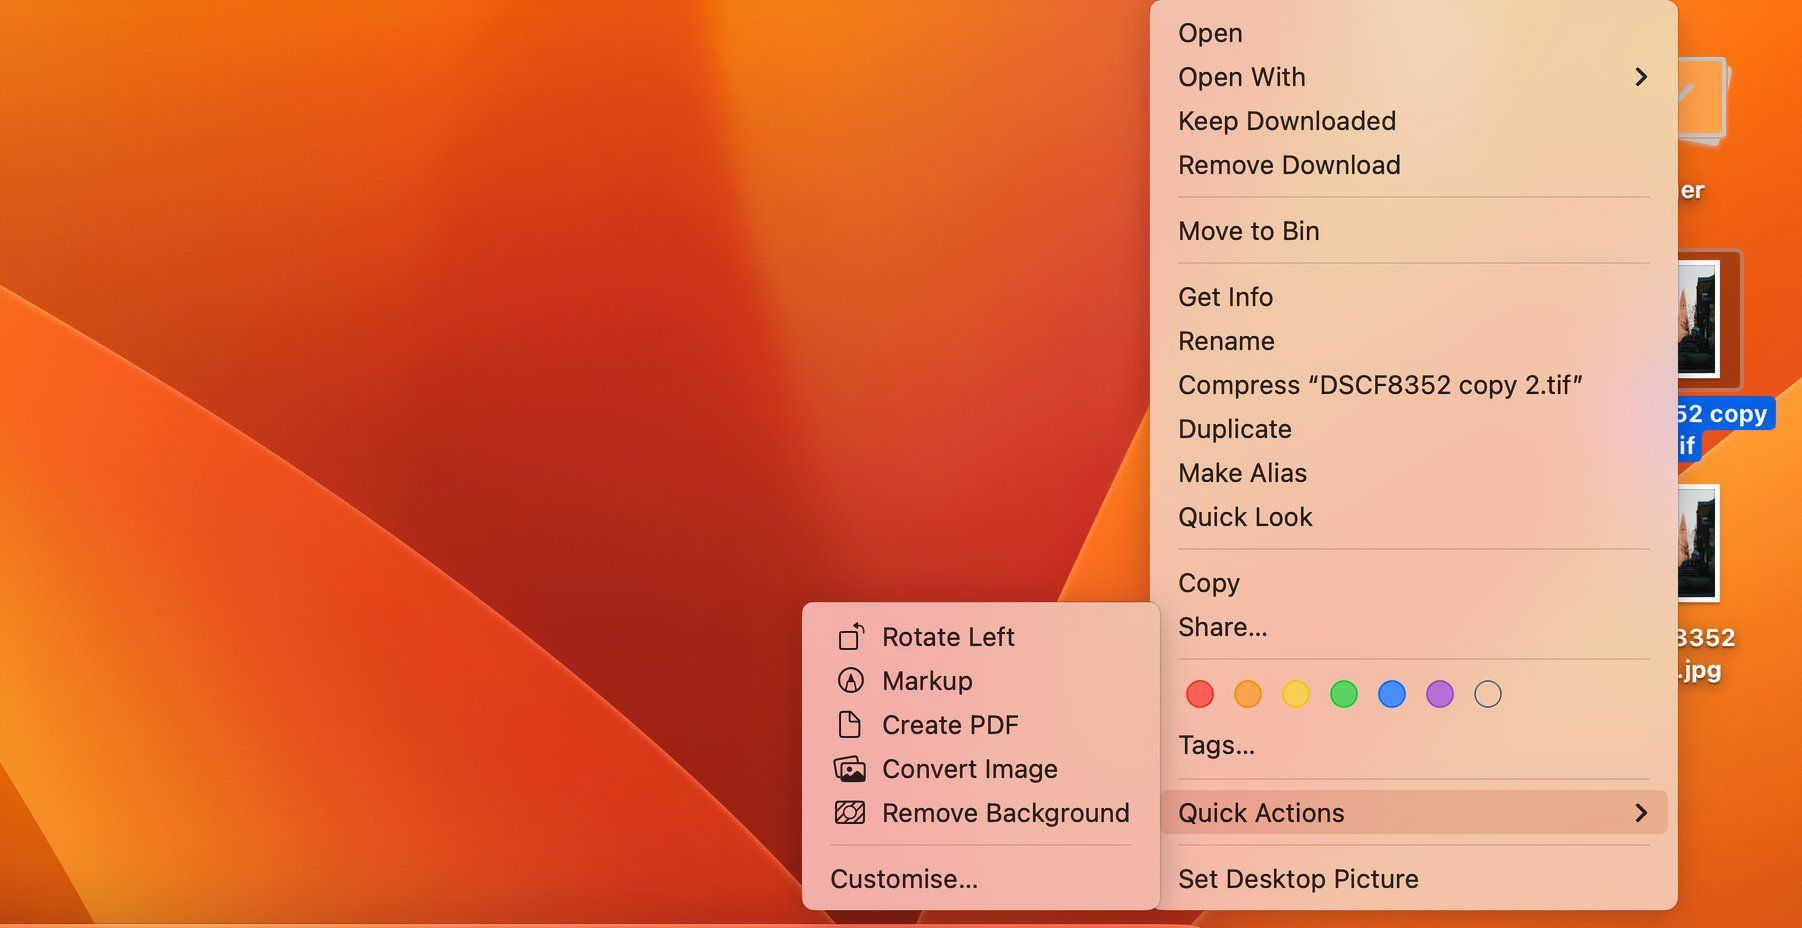
9. Speicher it in a different Format and Transform it into something else.
Assuming no other attempts have been made, you can try preserving your document in a different format and then editing it into JPEG using TIFF. However, all these stages worked out for me after I converted essentially the same PSD image to another vector.The instructions below are for Mac, but they do not provide specific instructions. By converting an image, You can add it to the context menu on Windows 11. , as well.

What activities have you engaged in using a Mac?:.
- Go to the folder where you initially saved your document.
- Media. Controlling your touchpad is crucial. On the.Select a Png file and proceed to the next step. Fast Actions> Convert Image. ..
- Select. JPEG. Or. PNG. From the. Format. Listbox restaurant.
The inability to protect your file system as JPEG or PNG in Photoshop can be a source of frustration, but there are ways to overcome the above issues.Some have become more complex, while others require only a simple fix.When your pictures become large, they may not be saved In file formats; you can mitigate this issue by reducing the data size.